
How to Restore an Old Photo
To restore an old photo: scan it properly first (600dpi, flat on the glass), repair the scratches and tears with the object remover, colorize it, then upscale it last, if at all. That order matters. The scan matters more than any of the AI steps, which is why this guide spends its first section there. Every tool here runs inside your browser, so your family photos are never uploaded anywhere.
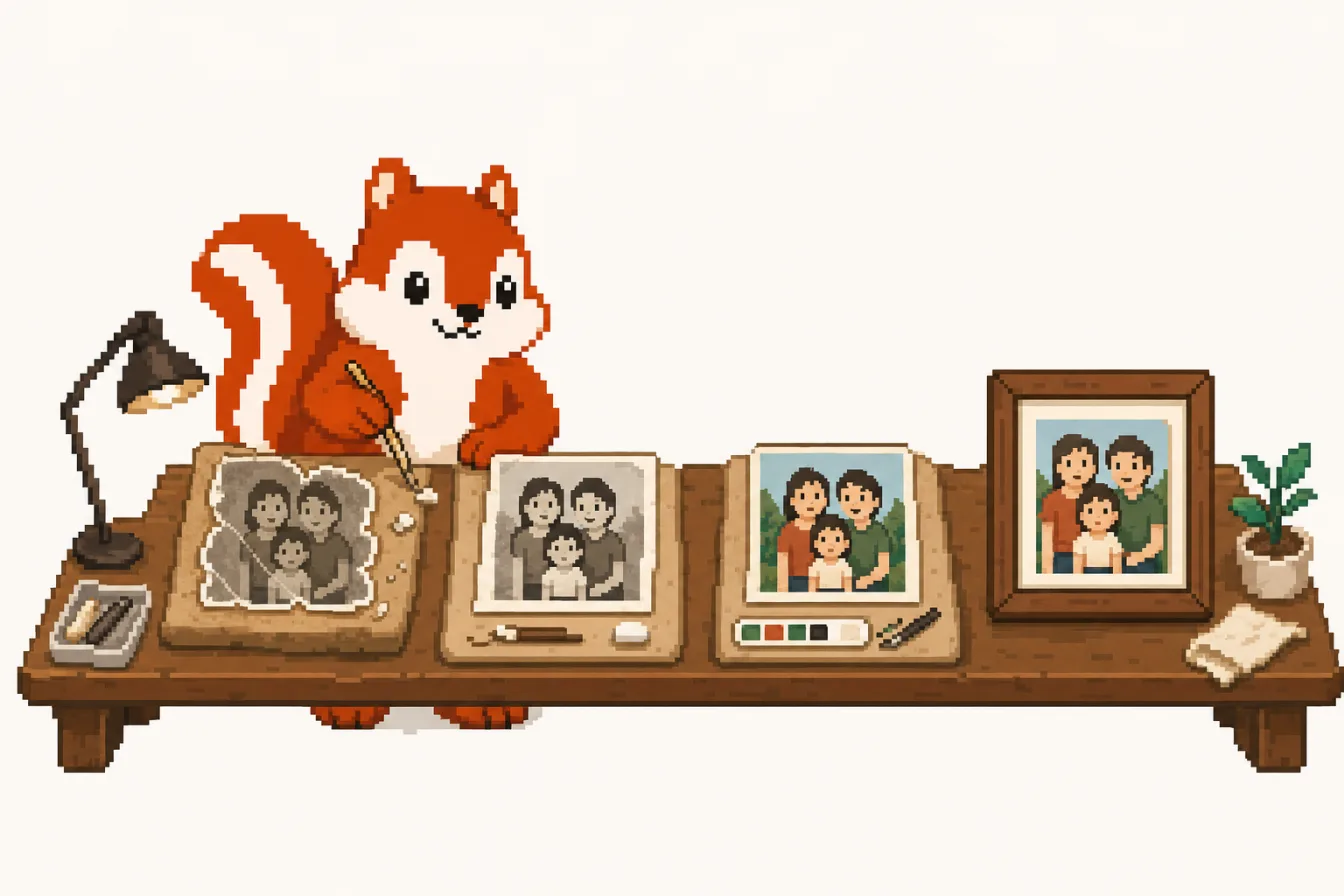
Most guides about restoring old photos start with the AI. This one starts with a flatbed scanner, because that is where nearly all of the quality actually comes from. The models here can add colour and clean up damage, but they cannot recover information your scan never captured. Feed them a good scan and they do good work. Feed them a phone snapshot of a print lying on a kitchen table and they will confidently restore the glare.
So: scan properly. Then repair, colorize, upscale, in that order. Then stop.
The scan is the whole ballgame
Scan at 600dpi minimum. A 3.5 x 5 inch print at 600dpi gives about 2100 x 3000 pixels, plenty of room for everything that follows. At 300dpi that same print is 1050 x 1500, and you have thrown away half the detail before you started. Rescanning later means digging the box back out of the cupboard, so overshoot. 1200dpi is not wasted on small prints.
Dust the glass, and dust the photo. Every speck becomes a black dot you will paint out later. Thirty seconds with a microfibre cloth saves more work than any tool on this site. Get the print flat, too. Old prints curl, and a curled print scans with a soft band down the middle where it lifted off the glass. Put a book on the lid if you have to.
If the print is fragile or glued into an album, a phone photo beats nothing. But if you have any choice, do not photograph a photo. You get glare, keystone distortion, your own shadow, and the phone's noise reduction smearing the grain into mush before our tools even see it. If a phone is the only option: daylight near a window, no flash, camera square to the print.
Scan to PNG or TIFF, not JPEG. Compression artefacts around high-contrast edges are exactly what the later steps amplify. And turn off the scanner's dust removal, sharpening, and auto-colour. You want the flattest, most honest capture you can get. You can always add processing later. You cannot subtract it.
The order, and why it is that order
Repair damage, then colorize, then upscale. Each step reads the output of the one before it, and you want each one looking at the cleanest input available.
Repair goes first because a scratch is not part of the photograph, it is damage sitting on top of it. Colorize first and the model treats the scratch as part of the scene, then tries to work out what colour a scratch is. It usually hedges to grey and drags the surrounding area grey with it.
Colorize before you upscale, because the colorizer works from structure. It reads shapes and brightness to infer what things are: that is skin, that is sky, that is a wooden fence. Upscaling first invents plausible new detail that was never in the photograph, and invented detail can push the colorizer toward a wrong read. Real structure first, then colour, then size.
Repairing scratches and tears
The object remover is the tool for this. It runs an inpainting model: paint a mask over the damage and it reconstructs what should have been underneath from the surrounding context. It was built for erasing photobombers, and a crease across a 1950s print is the same problem wearing a different hat.
Work in small passes. A long scratch is tempting to cover in one confident stroke. Don't. Paint a few centimetres, remove, look, then do the next section. The model invents every pixel inside your mask, so the bigger the mask, the more it invents and the less context it has to invent from. Five small removals beat one big one nearly every time.
Cover the damage plus a little margin. Mask tighter than the scratch and you leave a rim of the original bright line for the model to blend outward from, which smears. Just past the edge is right.
Be more careful over faces. A wall, some grass, a sky: the model rebuilds those convincingly because they are statistically predictable. A face is not. A crease through an eye may be where you accept an imperfect repair rather than let the model invent a new eye.
One property makes the small-passes approach free: the model runs at a fixed working size internally, but composites back through your mask at full resolution. Every pixel you did not paint stays bit-for-bit identical to your scan. You are never degrading the whole photo to fix one corner.
Colorizing, and what to actually expect
The colorizer is the next step. Two things are worth understanding before you judge the output.
First, the resolution question, because it looks alarming and isn't. The model runs at a fixed and fairly small working size, and that is not a cap on your photo. It predicts chroma only, which is to say colour, and never detail. We run it small to get the colour, then apply that colour over your original full-resolution luminance. Your 2100 x 3000 scan comes back at 2100 x 3000, grain and sharpness intact. None of your detail passes through the colour stage. Only the colour does, and colour is smooth and low-frequency, which is exactly why the trick works.
Second, less comfortably: the colours are plausible, not accurate. The model cannot know your grandmother's dress was green. It predicts what a dress of that shape, in that light, in that era of photograph, usually is. That is a different claim from knowing.
In practice this splits cleanly. It is reliable on skin, sky, foliage, and wood, because those have narrow, physically constrained colour ranges. It is unreliable on clothing and painted objects, precisely where colour was arbitrary in reality. A car was whatever colour the buyer picked. There is no signal in the greyscale to recover, because the information genuinely is not there.
When unsure, it hedges toward grey rather than guessing loudly. Read that as a signal, not a bug: a stubbornly grey region is the model telling you it does not know. Cropping tighter to the subject sometimes gives it enough context to commit.
So if you want your grandfather's uniform in the correct regimental colour, no model can do that, and any tool claiming otherwise is bluffing. What you get is a photograph that reads as a colour photograph: a real and often moving thing, but an interpretation, not a recovery.
Upscaling, last, and often not at all
The image upscaler runs at 4x. The colorize tool has a "Send to the upscaler" button that hands the image over inside the browser, with no re-upload and no round trip through your downloads folder.
The honest part: if you scanned at 600dpi, you probably do not need it. That 2100 x 3000 scan is already bigger than any screen you own and enough for a large print. Push it 4x and you get 8400 x 12000, a 100 megapixel file of a snapshot from 1952. That is not more photograph. It is the same photograph, larger, with invented texture in it.
The upscaler earns its place when the source is genuinely small: a 600 pixel copy a relative emailed you, or a crop of one face out of a group shot. That is real work. The upscaling guide goes deeper on when 4x helps.
Knowing when to stop
Over-processing is the most common way people ruin a restoration, and it happens because every individual step felt like an improvement.
The instinct is to keep going: one more upscale pass, one more sweep over that faint blemish. What you get is a photograph sanded smooth. The grain is gone, the faces look faintly plastic, and the texture of a print from 1952 has been replaced by a model's general idea of a face. It is technically cleaner and it is worse, because the thing you were keeping was the photograph, not a smooth surface.
A good check: put the finished version next to your raw scan and look at both, ideally the next day. Often the honest answer is that the scan was already good, the repair helped, and the rest was fiddling.
Some damage should stay. A soft corner, a bit of grain, the slight warmth of an old print: that is the photograph's age, and age is not damage. Restore what obstructs the image. Leave what dates it.
And to be plain about the ceiling: this will not make a 1940s snapshot look like a modern DSLR photo. That camera had a simple lens, slow film, and a photographer guessing at the exposure. The detail was never recorded. No model recovers what was never there, and one that appears to is inventing, which on a photograph of a real person is a different thing from restoring.
A worked example
A 1952 print, 3.5 x 5 inches. A crease runs diagonally across the bottom left corner, there is a scattering of white specks, and a dark stain near the right edge.
Scan at 600dpi as PNG, dust removal off, sharpening off, glass wiped, print flattened under a book. That gives roughly 2100 x 3000 pixels. Two minutes.
Open the object remover. Start with the stain, the clearest win: brush over it plus a couple of millimetres of margin, remove. It sits against a plain wall and the model rebuilds the wall convincingly. Then the crease, in four or five short passes rather than one long stroke, working from the corner inward. Where it crosses the floor it repairs cleanly. Where it clips a shoe, do that section alone with a tighter brush. Specks last, a few at a time. Six minutes.
Now the colorizer. The skin tones come back believable, the sky is a plausible pale blue, the door frame reads as wood. The dress goes a muted blue-grey, which means the model does not know, and neither do you. That is the honest state of the photo. The result is 2100 x 3000, same as the scan.
Then stop. Do not send it to the upscaler: at 2100 x 3000 it already prints at 7 x 10 inches at 300dpi, twice the size of the original. Nothing to gain, texture to lose. About ten minutes total, most of it scanning and brushing. Nothing uploaded.
Why this runs on your machine
Family photos are about the most personal image there is. A scan of your grandmother is not a stock photo, and it is not something you should have to hand to a company with a privacy policy you did not read in exchange for a free restore that is free for a reason.
None of the tools here have a server to send it to. The models download to your browser once, and your photo is read into memory, processed, and discarded when you close the tab. You can verify that rather than trust it: open the Network tab, run a restore, and watch the model come down while nothing goes up. There is more on how private this actually is, including three ways to check it for yourself.
Frequently asked questions
What resolution should I scan an old photo at?
600dpi minimum. For a standard 3.5 x 5 inch print that gives about 2100 x 3000 pixels, enough for a large print and more than enough for any screen. Go to 1200dpi for small prints, or if you might want to crop into one face later. Scanning is the one step you cannot redo without getting the box out again, so overshoot.
Can I use a phone photo instead of a scan?
You can, and it beats nothing if the print is glued into an album or too fragile to move. But it costs real quality: glare, distortion, your own shadow, and the phone's noise reduction smoothing away the grain before any tool sees it. If you use a phone, shoot in daylight near a window, no flash, camera square to the print. If a flatbed scanner is available, use it.
What order should I restore an old photo in?
Repair damage first with the object remover, then colorize, then upscale if you need it. Repair goes first so the later steps do not try to interpret a scratch as part of the scene. Colorize before upscaling because the colorizer works from structure, and upscaling first invents detail that can mislead it.
Will the colorizer get the colours right?
It will get them plausible, not right. It is reliable on skin, sky, foliage, and wood, which have narrow physical colour ranges. It is unreliable on clothing and painted objects, exactly where colour was arbitrary in reality and no signal survives in the greyscale. When unsure it hedges toward grey rather than guessing loudly, so a grey area usually means the model is telling you it does not know.
Does the colorizer limit my photo's resolution?
No. The colorizer predicts colour only, never detail. It runs at a fixed small working size to get the colour, and we then apply that colour over your original full-resolution brightness. A 4000 pixel scan comes back as a 4000 pixel colour photo with its own grain intact. Only the colour passes through the small stage, and colour is smooth enough that nothing is lost.
Do I need to upscale my restored photo?
Usually not, if you scanned at 600dpi. A 2100 x 3000 scan is already larger than any screen and prints fine. The upscaler is for genuinely small sources: a low-resolution copy someone emailed you, or a tight crop of one face from a group shot. Enlarging a good scan just gives you a bigger file with invented texture in it.
Are my family photos uploaded anywhere?
No. Every tool here runs the AI model inside your browser, on your own machine. Your scan is read into memory, processed there, and discarded when you close the tab. There is no upload endpoint on the site. You can confirm it in your browser's Network tab: you will see the model downloading and nothing being sent up.